
Create a custom connector that accesses an anonymous REST API
- How do I create a custom connector for Microsoft Flow and PowerApps?
- Create a custom connector that accesses an anonymous REST API (this post)
- Create a custom connector with an OpenAPI definition (aka Swagger) from an ASP.NET Core solution
You can download the source code for this series directly from my GitHub repository. The name of this sample project is 01. SimpleRESTApi.
In this post, we are going to create our first custom connector definition in Power Automation. For sake of simplicity, the custom connector will consume one single action retrieving data from an anonymous ASP.NET Core REST API hosted in Azure. I am going to guide you on how to create your first connector from scratch.
What do I need to get started?
This is the prerequisites to get this example up-and-running:
- Any Visual Studio version with ASP.NET Core
- An Azure Subscription to host your REST API
- A Power Automation subscription with the ability to create your custom connector
- Some basic knowledge about ASP.NET core and REST APIs
- Some basic knowledge on how to create a flow in Power Automation
1) Create your API
We are not interested in building complex APIs in this exercise. The ASP.NET Core Web Application template will be sufficient.
- Create a new Project in Visual Studio
- Choose the ASP.NET Core Web Application template
- Specify your desired Project Name. I am going to call SimpleRESTApi.
- When asked for the type of web application, choose API
This will create a standard ASP.NET Core Web Application template with the ValuesController. When starting the debugger it will immediately launch your endpoint [PutYourLocalHostAddressHere]/api/values and return an array of values: [“value1”,”value2”].
Publish your Web Application to Azure
We need to push this simple API using the publishing feature in Visual Studio. You can find out how this works here.
Once published, note down the URL that you get from Azure. This is important for the custom connector definition later on. You have to note down the following information:
- Your Azure host: [PutYourAzureHostAddressHere]
- Your REST endpoint for the Values API: [PutYourAzureHostAddressHere]/api/values
2) Create the custom connector in Power Automation
Login to your Power Automation interface and choose the Custom Connectors option in the menu.
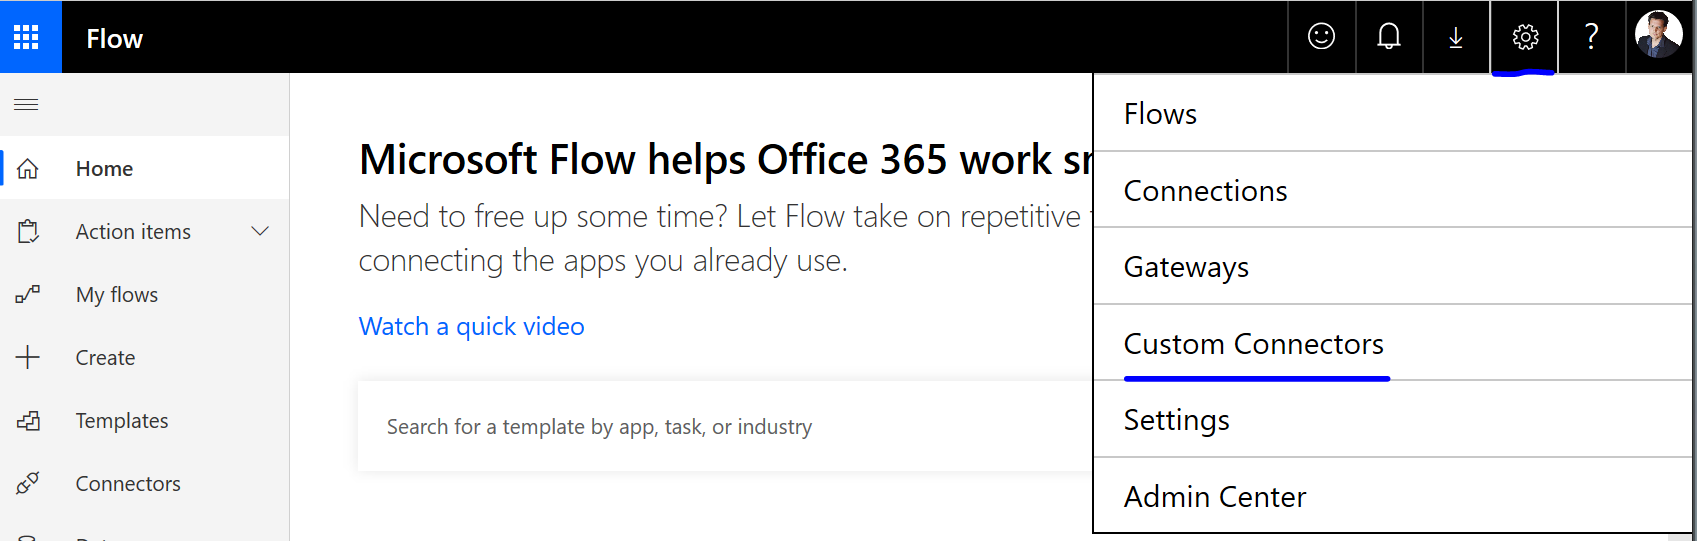
You will be redirected to the custom connector overview page managed by you. The creation of a new custom connector is performed using the New custom connector option. This example will create it from scratch, therefore, we are going to press New custom connector -> Create from blank.
The system will prompt you for a name. Choose the name wisely because you can only change a custom connector’s name until it hasn’t been saved. Once saved, you can’t change the name. In this exercise, I am calling my connector CustomConnector.
You will be redirected to the next interface. This interface is subdivided into these sections:
- General: specify the REST API endpoint, a description, and an icon for the connector
- Security: configure the authentication technique used to authenticate your users against the connector
- Definition: allows you to define actions and triggers for your connector
- Test: allows you to test the endpoints without the need of launching Power Automation and dedicated workflows
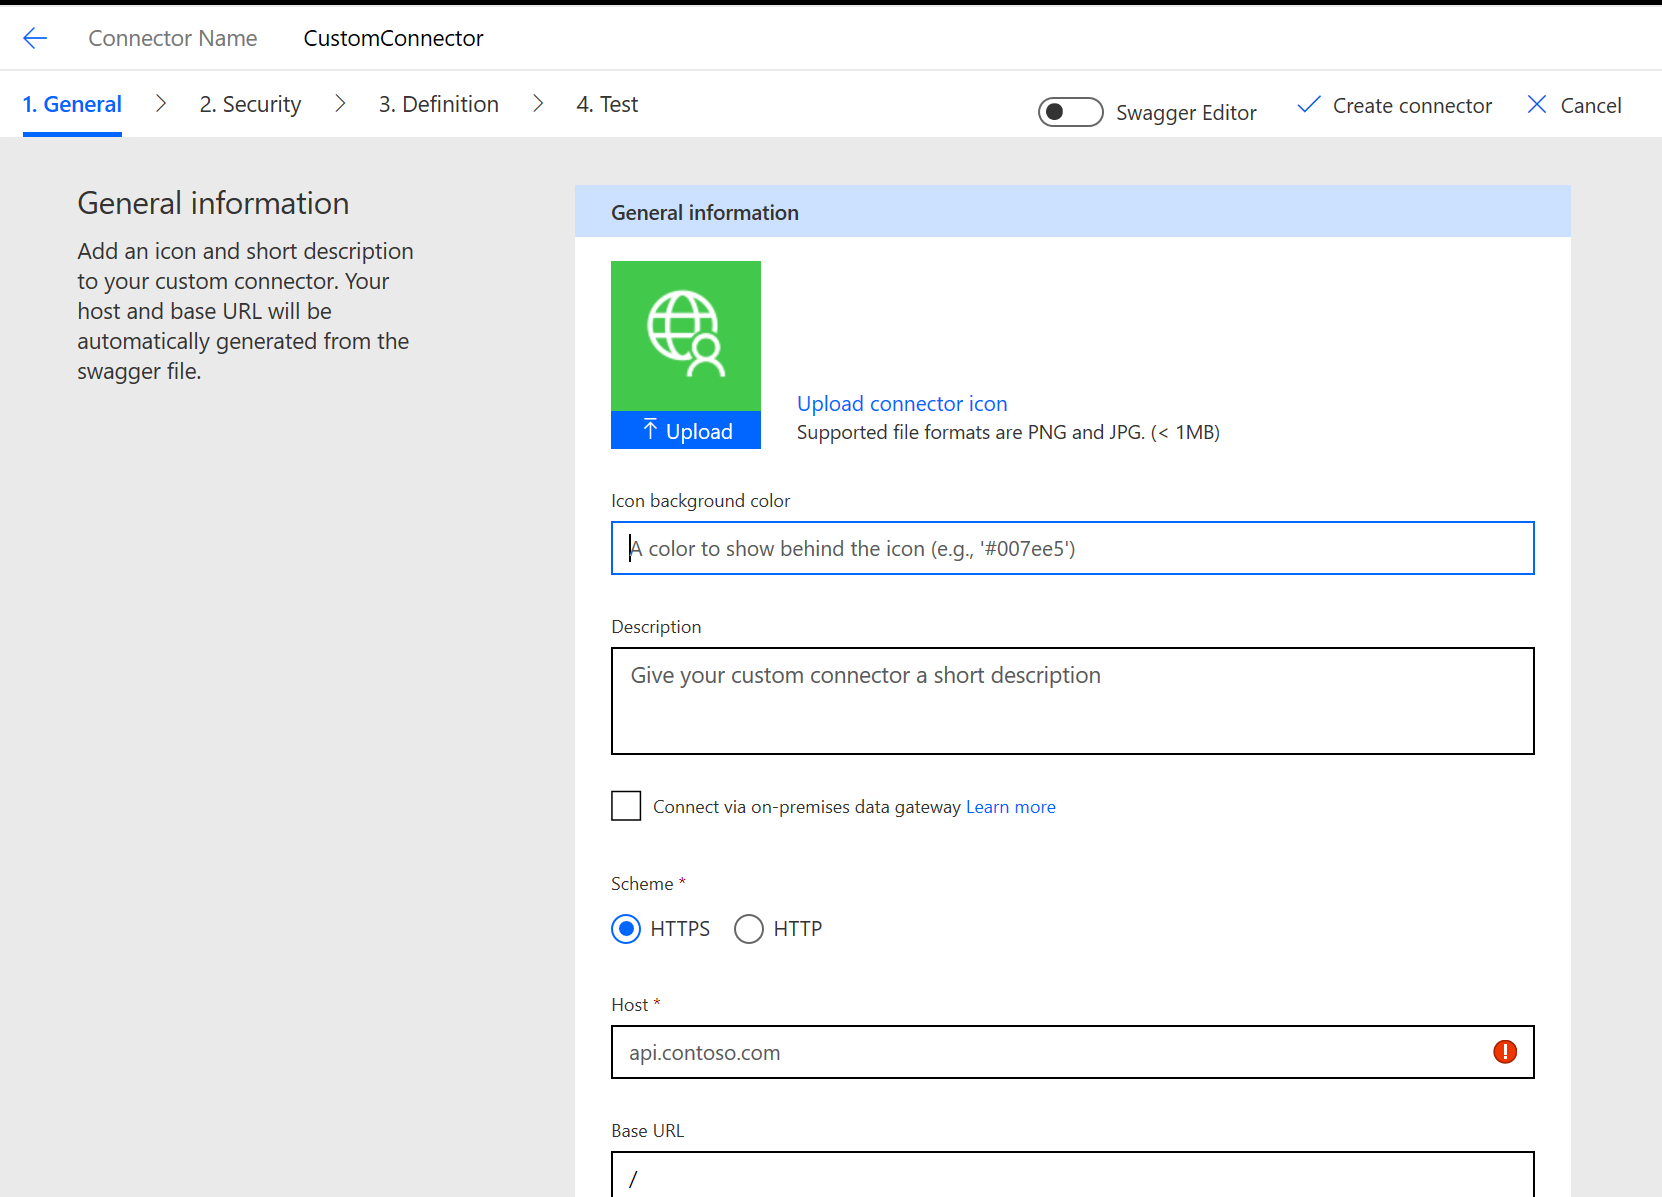
Changes in the General tab
You can play around with the General tab. The most important thing to consider for this example is to fill out the correct host value. You noted it before already when publishing your REST API to Azure. Therefore, it will be [PutYourAzureHostAddressHere] without the protocol (HTTPS).
Changes in the Security tab
We will skip this tab because we are not implementing any authentication for our anonymous connector.
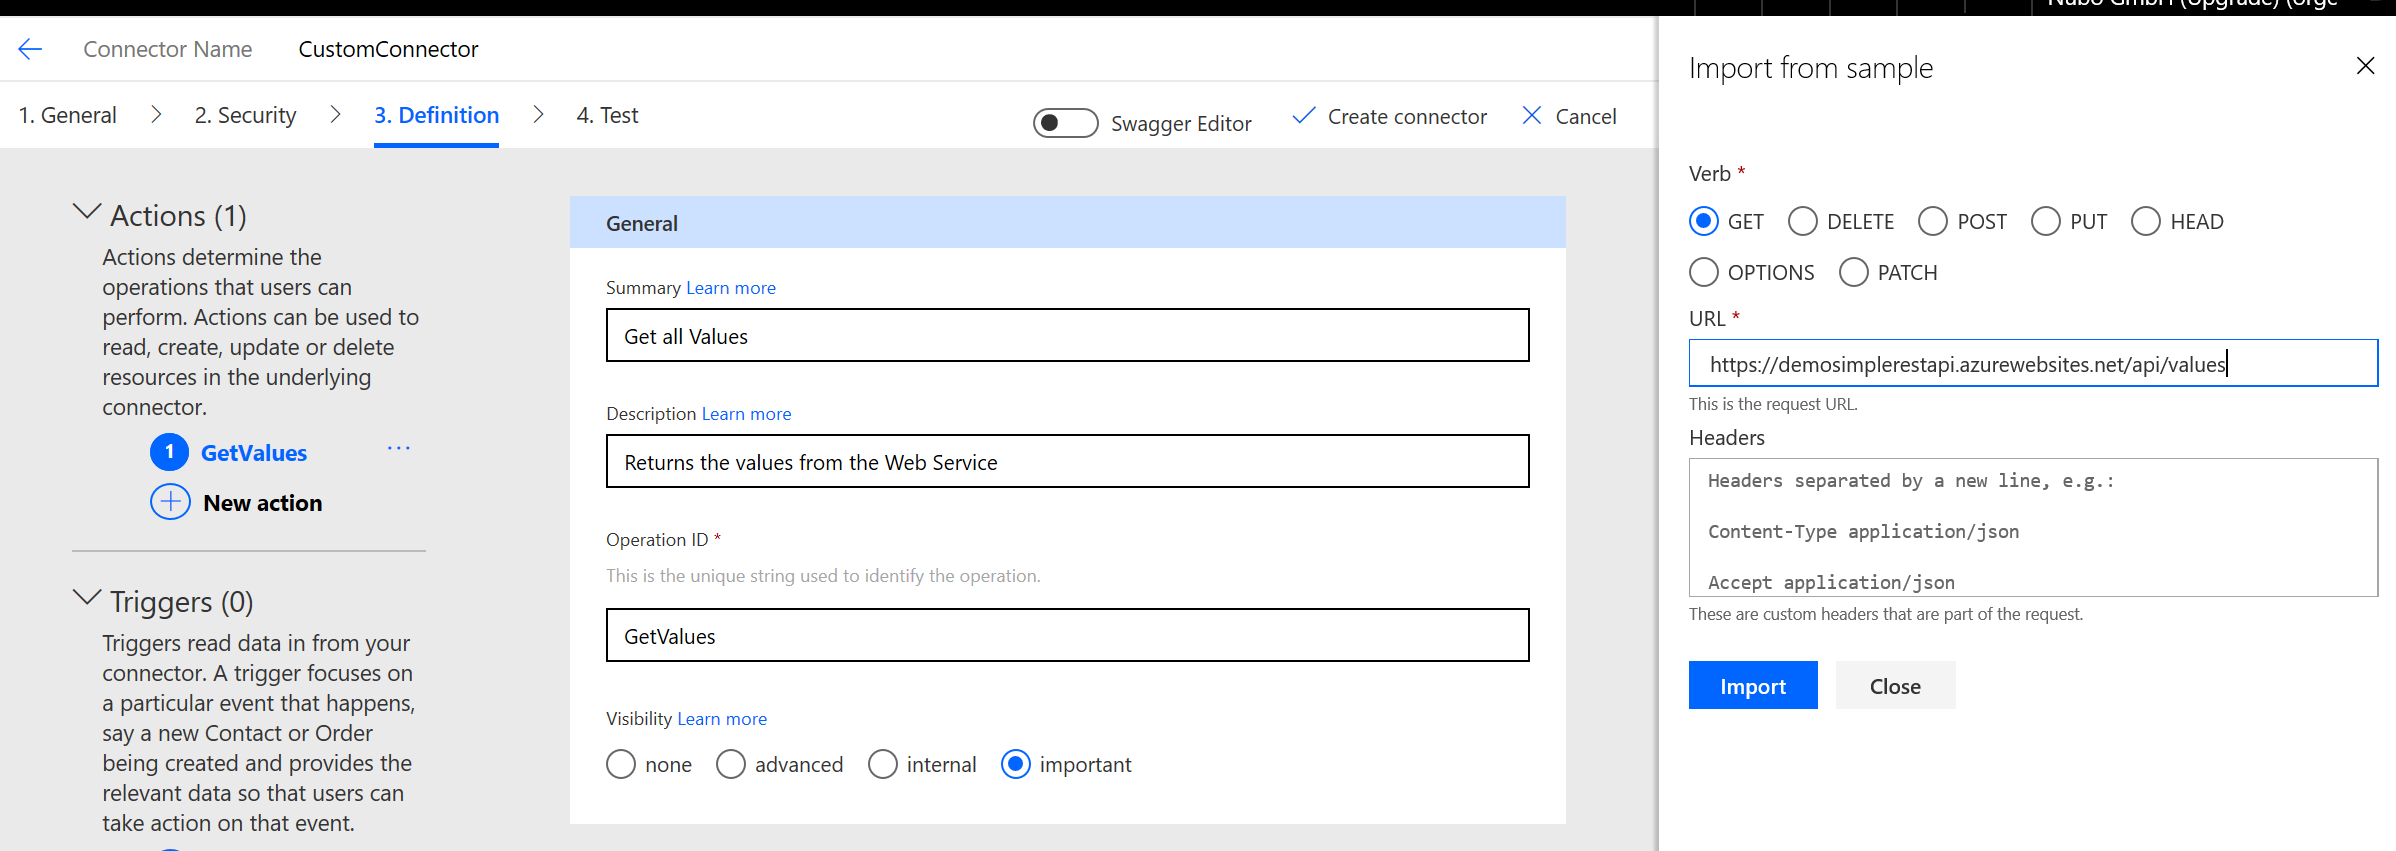
Changes in the Definition tab
In this tab, we are going to create a single action. To do this, click New action and fill the basic information about it as shown in the next picture.
On the same screen, you will find the section Request. You have to press the Import from sample option and use the Azure REST API address of your values endpoint. You noted it before and it will be [YourLocalHostAddress]/api/values. Press Import to finalize the definition.
Test your flow from the Test tab
We are almost done. We need to press the Create Connector button before being able to continue and test. After pressing this button, you won’t be able to change the name of the connector.
You can perform some basic tests. You just need to create a Connection, select the GetValues operation and press the Test operation button. If everything is configured successfully and your REST API available to be consumed, you will get a successful response.
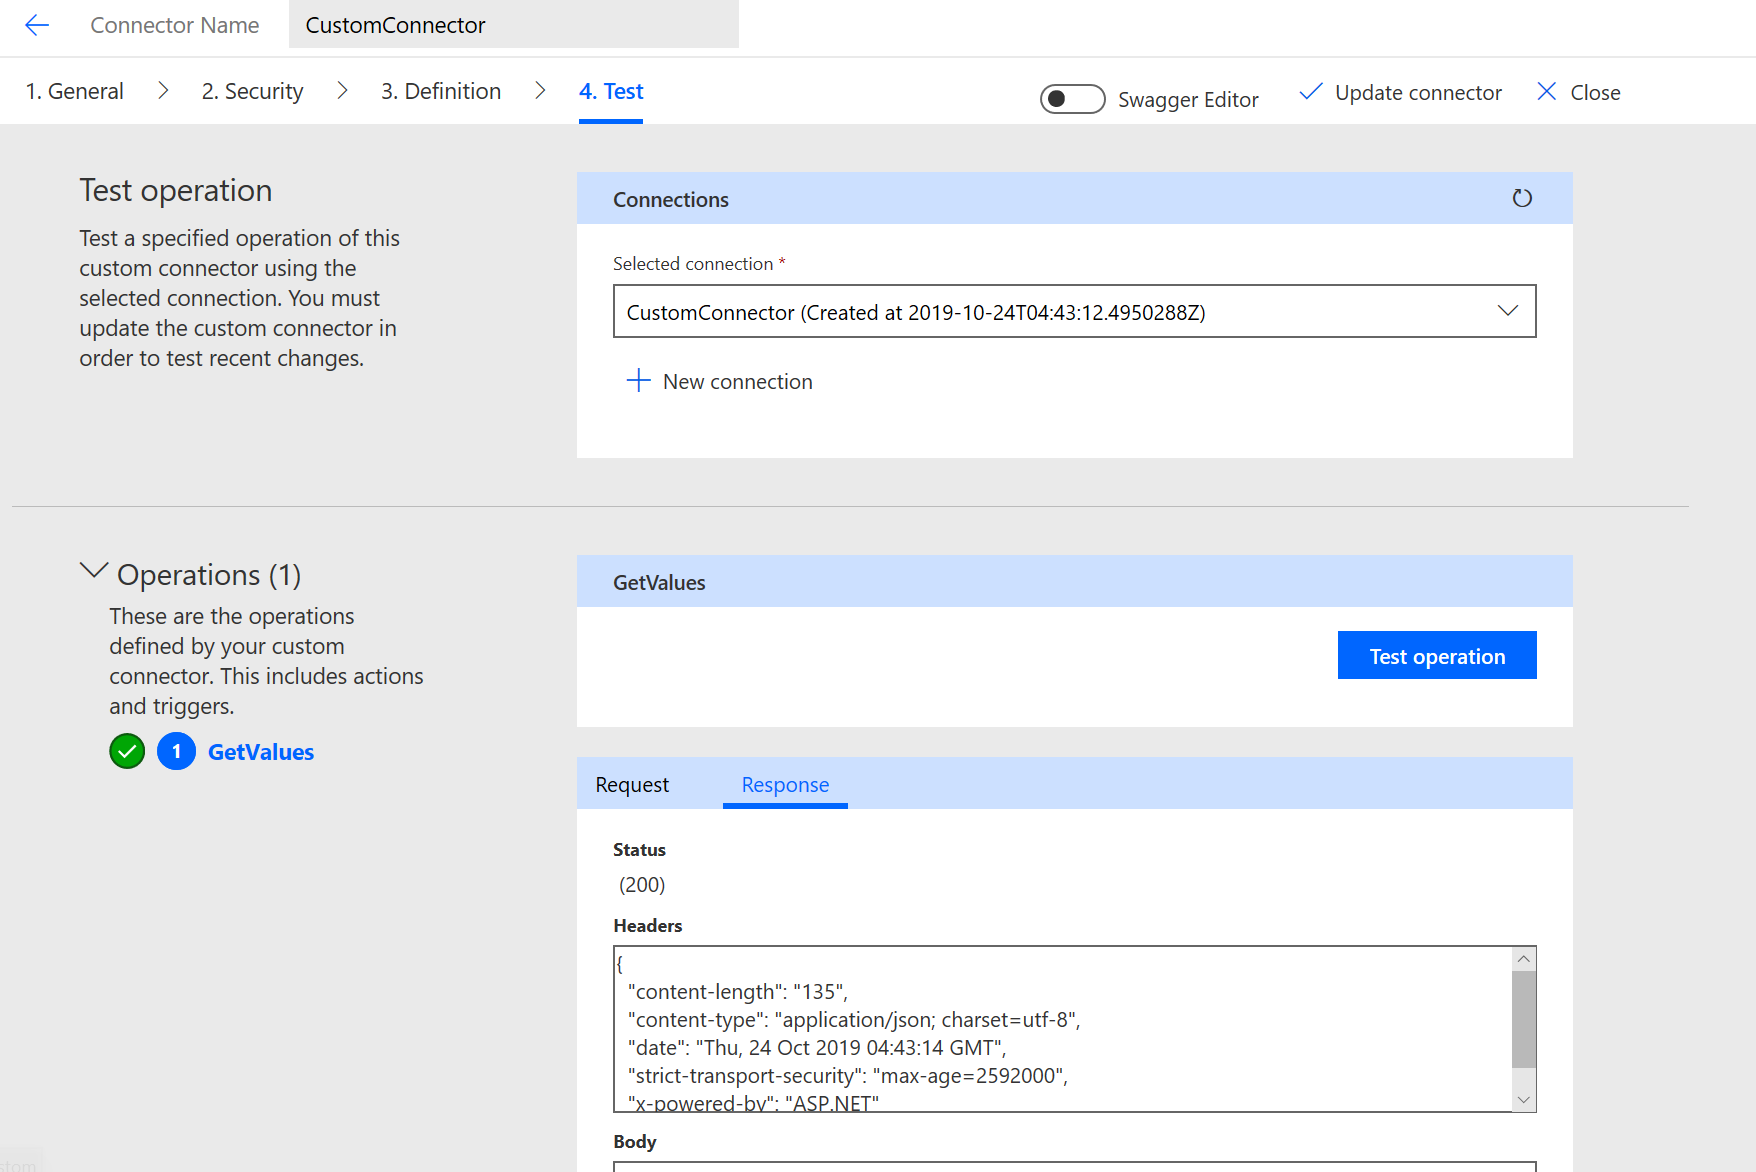
Congratulations, you just created and tested your first custom connector.
3) Share your connector
You are the owner of the custom connector. You will be able to use it immediately in Power Automation. On the other hand, you can start sharing your connector with individuals or the whole organization.
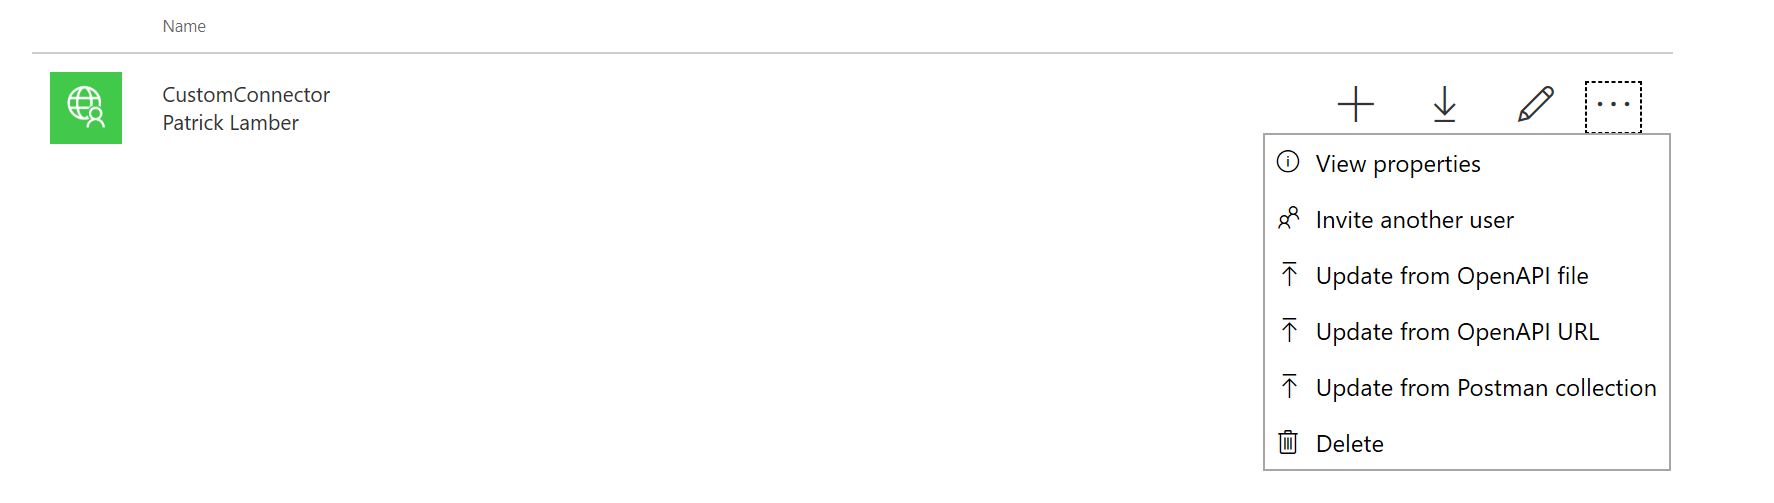
You can do this from the custom connector overview page. Select Invite another user
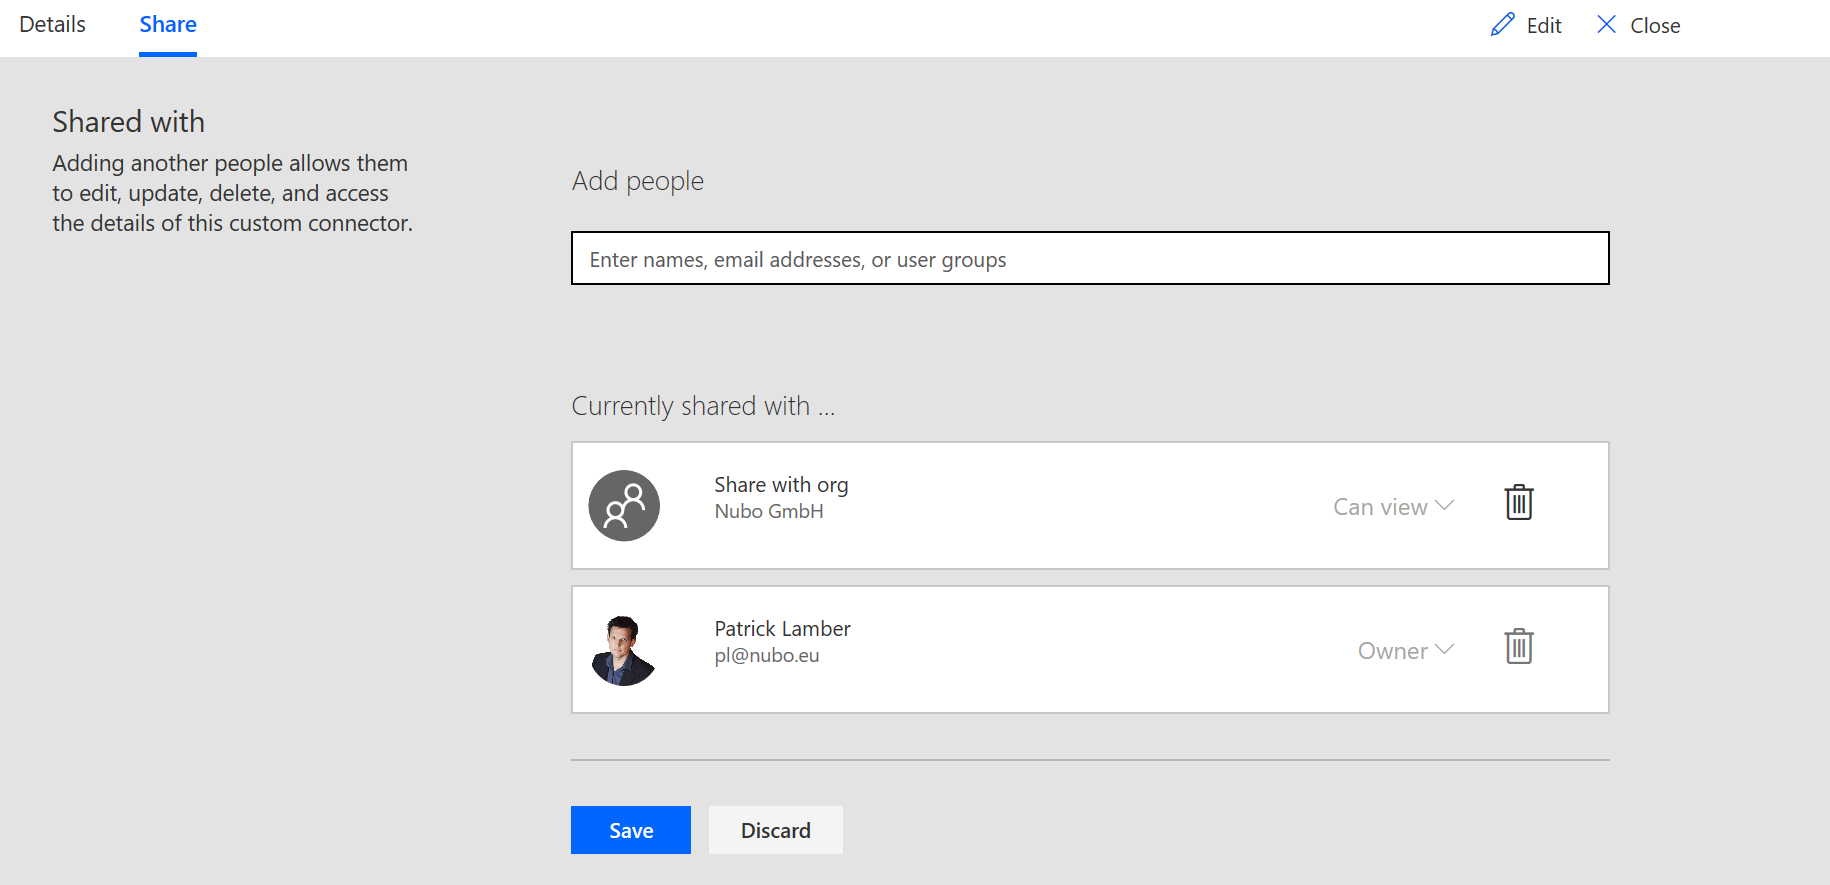
Select individuals or share them with the whole organization as shown in the next figure.
In case you want to share the connector with the rest of the world, Microsoft allows you to certify your connector. You can do this following this documentation.
4) Use the connector
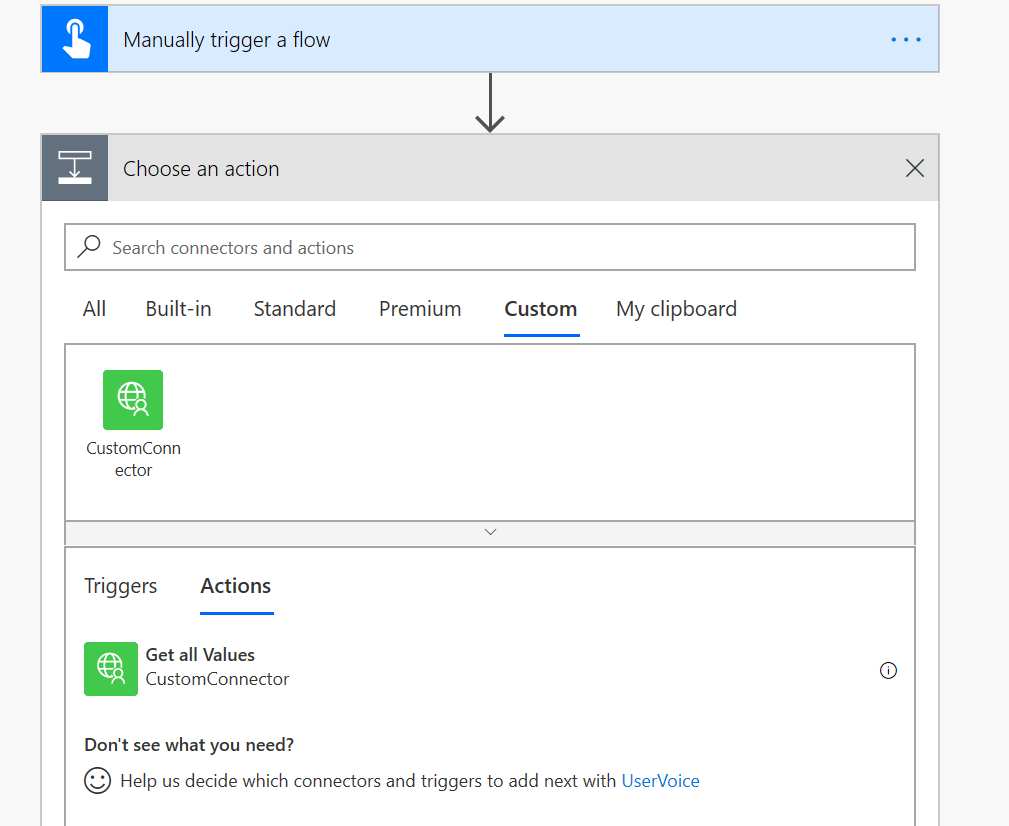
After saving and sharing your custom connector, the custom connector is accessible by Power Automation users using the Custom tab when selecting an action.
- How do I create a custom connector for Microsoft Flow and PowerApps?
- Create a custom connector that accesses an anonymous REST API (this post)
- Create a custom connector with an OpenAPI definition (aka Swagger) from an ASP.NET Core solution